Hey there! I'm an axle parts supplier, and today I wanna share with you how to replace the axle bearings in axle parts. Whether you're a DIY enthusiast or a professional mechanic, this guide will walk you through the process step by step.
Before we start, let's have a quick look at why replacing axle bearings is important. Axle bearings are crucial components that support the weight of the vehicle and allow the wheels to rotate smoothly. Over time, these bearings can wear out due to constant use, contamination, or lack of proper maintenance. When that happens, you might notice strange noises coming from the wheels, uneven tire wear, or even a vibrating steering wheel. If you ignore these signs, the worn - out bearings can lead to more serious problems, like wheel detachment or damage to other axle parts. So, it's essential to replace them as soon as you detect any issues.
Step 1: Gather the Necessary Tools and Parts
First things first, you'll need to gather all the tools and parts you'll need for this job. Here's a basic list:
- Socket set
- Wrench set
- Bearing puller
- Hammer
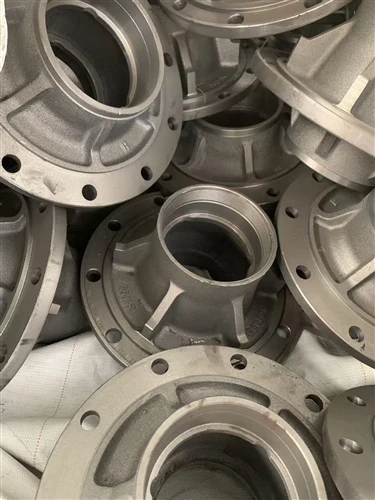
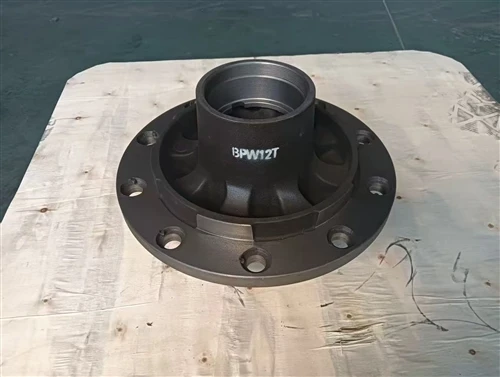
- New axle bearings. You can get high - quality ones from us. We also offer other related Axle Brake Hub, Axle Dust Cover, Axle Wheel Hub, American - style Shaft Head Nut, and Air Chamber Connecting Fork
- Grease
- Brake cleaner
- Clean rags
Step 2: Prepare the Vehicle
Safety should always be your top priority. Start by parking the vehicle on a level surface and engaging the parking brake. Then, use wheel chocks to block the wheels that you won't be working on. This will prevent the vehicle from rolling while you're under it. Next, loosen the lug nuts on the wheel with the axle bearing you're going to replace, but don't remove them just yet.
Step 3: Lift the Vehicle
Use a jack to lift the vehicle off the ground until the wheel is about 6 - 8 inches off the surface. Make sure to place the jack stands under the appropriate lifting points on the vehicle. Once the jack stands are in place, slowly lower the vehicle onto them. This will provide a stable and safe working environment. Now, you can fully remove the lug nuts and take off the wheel.
Step 4: Remove the Axle Hub Cover
Most axle hubs have a cover that protects the bearings and keeps the grease inside. Locate the cover, which is usually held in place by a few screws or clips. Use the appropriate tool to remove the cover. Once it's off, you'll see the grease and the bearing assembly.
Step 5: Remove the Dust Cap and Washer
Under the axle hub cover, you'll find a dust cap. Use a hammer and a small chisel or a pry bar to carefully remove the dust cap. Behind the dust cap, there's usually a washer. Remove the washer as well.
Step 6: Loosen the Axle Nut
The axle nut holds the wheel hub and bearings in place. Use a large socket and a breaker bar to loosen the axle nut. It's often very tight, so you might need to apply some force. Once it's loosened, you can remove the nut by hand.
Step 7: Remove the Wheel Hub and Bearings
With the axle nut removed, you should be able to pull the wheel hub off the axle. If it's stuck, you can use a rubber mallet to gently tap it loose. Once the wheel hub is off, you'll see the inner and outer bearings. You can use a bearing puller to remove the old bearings from the hub. Be careful not to damage the hub while using the puller.
Step 8: Clean the Components
Now that you've removed the old bearings, it's time to clean the wheel hub, axle shaft, and other components. Use a brake cleaner and a clean rag to remove any dirt, grease, or debris. Make sure all the parts are completely clean before moving on.
Step 9: Install the New Bearings
Before installing the new bearings, pack them with grease. You can use your fingers or a bearing - packing tool to evenly distribute the grease inside the bearings. Then, carefully install the new inner and outer bearings into the wheel hub. Make sure they fit snugly.
Step 10: Reassemble the Parts
Once the new bearings are in place, you can start reassembling the parts. Put the washer back on the axle shaft, followed by the axle nut. Tighten the axle nut to the manufacturer's specifications. This is very important because over - tightening or under - tightening can cause problems with the bearings. Next, put the dust cap back on and press it firmly into place. Then, reinstall the axle hub cover.

Step 11: Reinstall the Wheel
After reassembling the hub and bearing components, it's time to put the wheel back on. Line up the wheel with the holes in the hub and start threading the lug nuts onto the studs by hand. Once all the lug nuts are on, use a torque wrench to tighten them to the proper torque value.
Step 12: Lower the Vehicle
After double - checking that all the lug nuts are properly tightened, use the jack to lift the vehicle slightly off the jack stands. Remove the jack stands and then slowly lower the vehicle to the ground. Finally, use the torque wrench to re - check the lug nut torque.
And that's it! You've successfully replaced the axle bearings in your axle parts. Remember, if you're not confident in your ability to do this job, it's always a good idea to consult a professional mechanic.
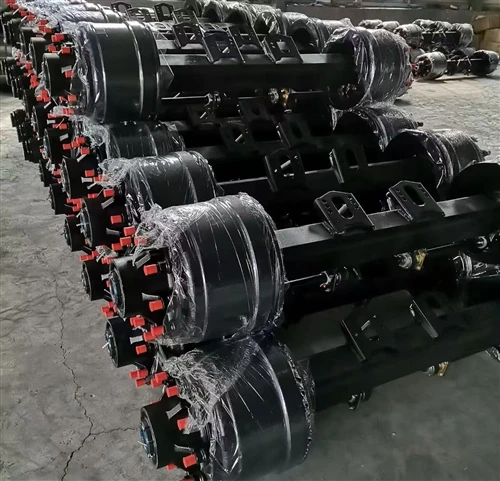
As an axle parts supplier, we've got a wide range of high - quality axle parts to meet your needs. Whether you need new bearings, Axle Brake Hub, Axle Dust Cover, Axle Wheel Hub, American - style Shaft Head Nut, or Air Chamber Connecting Fork, we can provide you with the best products at competitive prices. If you're interested in purchasing our axle parts, feel free to reach out and start a procurement discussion. We're always here to help you keep your vehicles running smoothly.
References
- "Automotive Axle and Suspension Systems" by James D. Halderman
- "Chilton's Complete Car Care Manual"